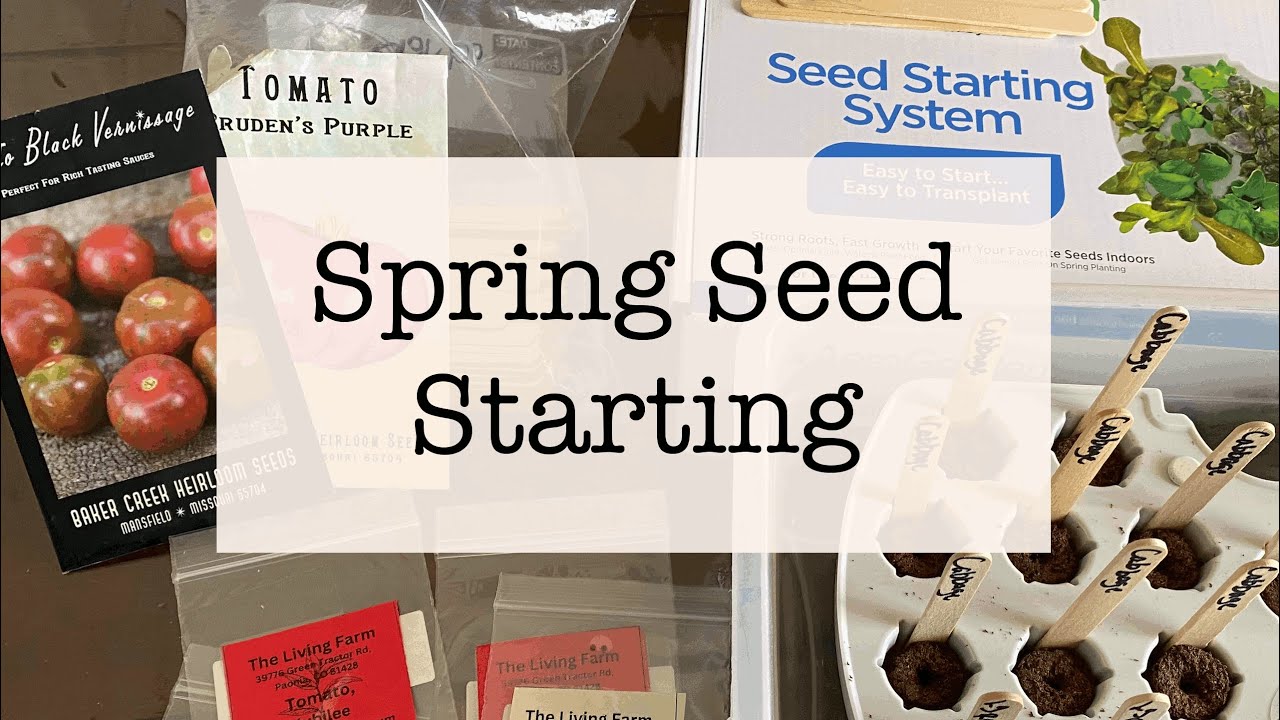
I know it’s a little late in the year to be thinking of planting seeds, at least for around here that is. There is still time for flowers though, and if nothing else it is a great idea for next year. So here it is, how to make your own seed tape.
Seed tapes are a easy way to lay out your seeds at the correct spacing, and keep them there, without much fuss or work. They can be expensive though, so here are some ways for you to make your own and save some money.
The Glue:
I’ve found a few different things people use for seed glue
- All-purpose store bought glue
- Flour -> aprox 1/4 cup flour to 2 Tbsp warm water. Mix till gooey.
- Corn starch -> 1 Tbsp corn starch to 1 cup cold water. Dissolve over medium heat until boils and thickens. Cool before use
- No Glue -> One source suggests carefully folding your seeds in toilet paper, then gently misting the paper to secure the seeds in place.
The Paper:
Any kind of thin, biodegradable paper should work i.e. toilet paper, paper towel, paper napkins, etc.
Steps:
- Cut your paper into 1 1/2 to 2 inch strips.
- Place a dot of glue at required spacing for your seeds.
- Place seeds on glue
- Let glue dry, then carefully roll up and store until planting
When planting, follow the directions for each type of seed used to bury them the correct depth. Water and Enjoy 🙂
Sources:
thriftyfun.com
instructables.com
organicgardening.com
hgtv.com
homemadesimple.com